Heddle Over Heels

  • Shop Handwovens
  • Looms & Weaving Supplies
  • About
  • Classes
  • Contact
  • Events
  • Blog
  • Email List
  • FAQ
  • Images
Brook’s Bouquet and Spanish Lace being woven on a rigid heddle loom.

Brook’s Bouquet and Spanish Lace being woven on a rigid heddle loom.

Virtual Weaving Circle

April 13, 2020 by Katie Strano in Rigid Heddle Weaving, Workshops

I am going to host an online weaving circle. Due to the recent world events, all upcoming classes have been postponed or canceled. Students are always welcomed to email me with questions, but sometimes there is nothing like a little face to face. I will be trying out an online format via the video conferencing site, Zoom. The idea for this first round is to basically have Q & A time for folks to ask specific questions about their ongoing personal projects. I may also do a little demonstration on the basics of using a pickup stick with a rigid heddle loom since this topic seems to keep coming up. There will of course also be time for sharing some show and tell, as well as general fiber fun gabbing. I am going to try to keep this first session at about one hour long.

Please send me an email if you would like to be put on the invitation list. This way I will be able to send you the direct link to join the circle. An email will be sent out approximately 1/2 hour before the scheduled start time. You will then be able to click on the Zoom link which will lead you through the steps of joining the virtual group. The tentative date for this first session is Tuesday, April 21st, 2020, at 4pm EST.

April 13, 2020 /Katie Strano
Rigid Heddle Loom, weaving circle, floor loom
Rigid Heddle Weaving, Workshops
Comment

Get Your MacGyver On! How to add an apron rod to a Beka rigid heddle loom.

January 13, 2017 by Katie Strano

My first experience weaving was on a 20” Beka Rigid Heddle loom. I immediately fell for the craft and the rigid heddle loom gave me the confidence that I needed to go on to learn to weave on a floor loom. I’m certain that part of my quick love for the Beka loom was due to a simple modification that my teacher, Christine Wilkinson, had made to the loom before I ever put hands on it. Christine came up with an ingenious and simple way of adding a front apron rod to a Beka rigid heddle loom that makes the tying on process much easier.  

Beka rigid heddle looms have an interesting and, if I’m honest, kind of cumbersome method of tying on. Most rigid heddle looms have dowels or rods attached to the front and back beams. These dowels are then used to wind on and tie the warp threads. Beka looms use a “tooth” system to organize the warp. The front and back beam are each inlayed with a sturdy plastic strip of, what I call, teeth. These teeth on the back do a great job of organizing the warp ends. I also like this system for the back beam because once the warp is measured and the rigid heddle is sleyed, via the direct warping method, you are ready to wrap the warp. No knots are needed to tie on the back and the teeth keep the warp ends perfectly spaced. 

The front, however, is a different story. The manufacturer intends for the weaver to connect a piece of cord to the front “teeth” to create loops. These loops are what you are then supposed to tie on to. This system can be cumbersome. It also adds one more hurtle to getting even tension across the width of your warp. Below I’ll show you the method I learned from Christine of how to make a simple and inexpensive modification to add an apron rod to the front of a Beka rigid heddle loom. 

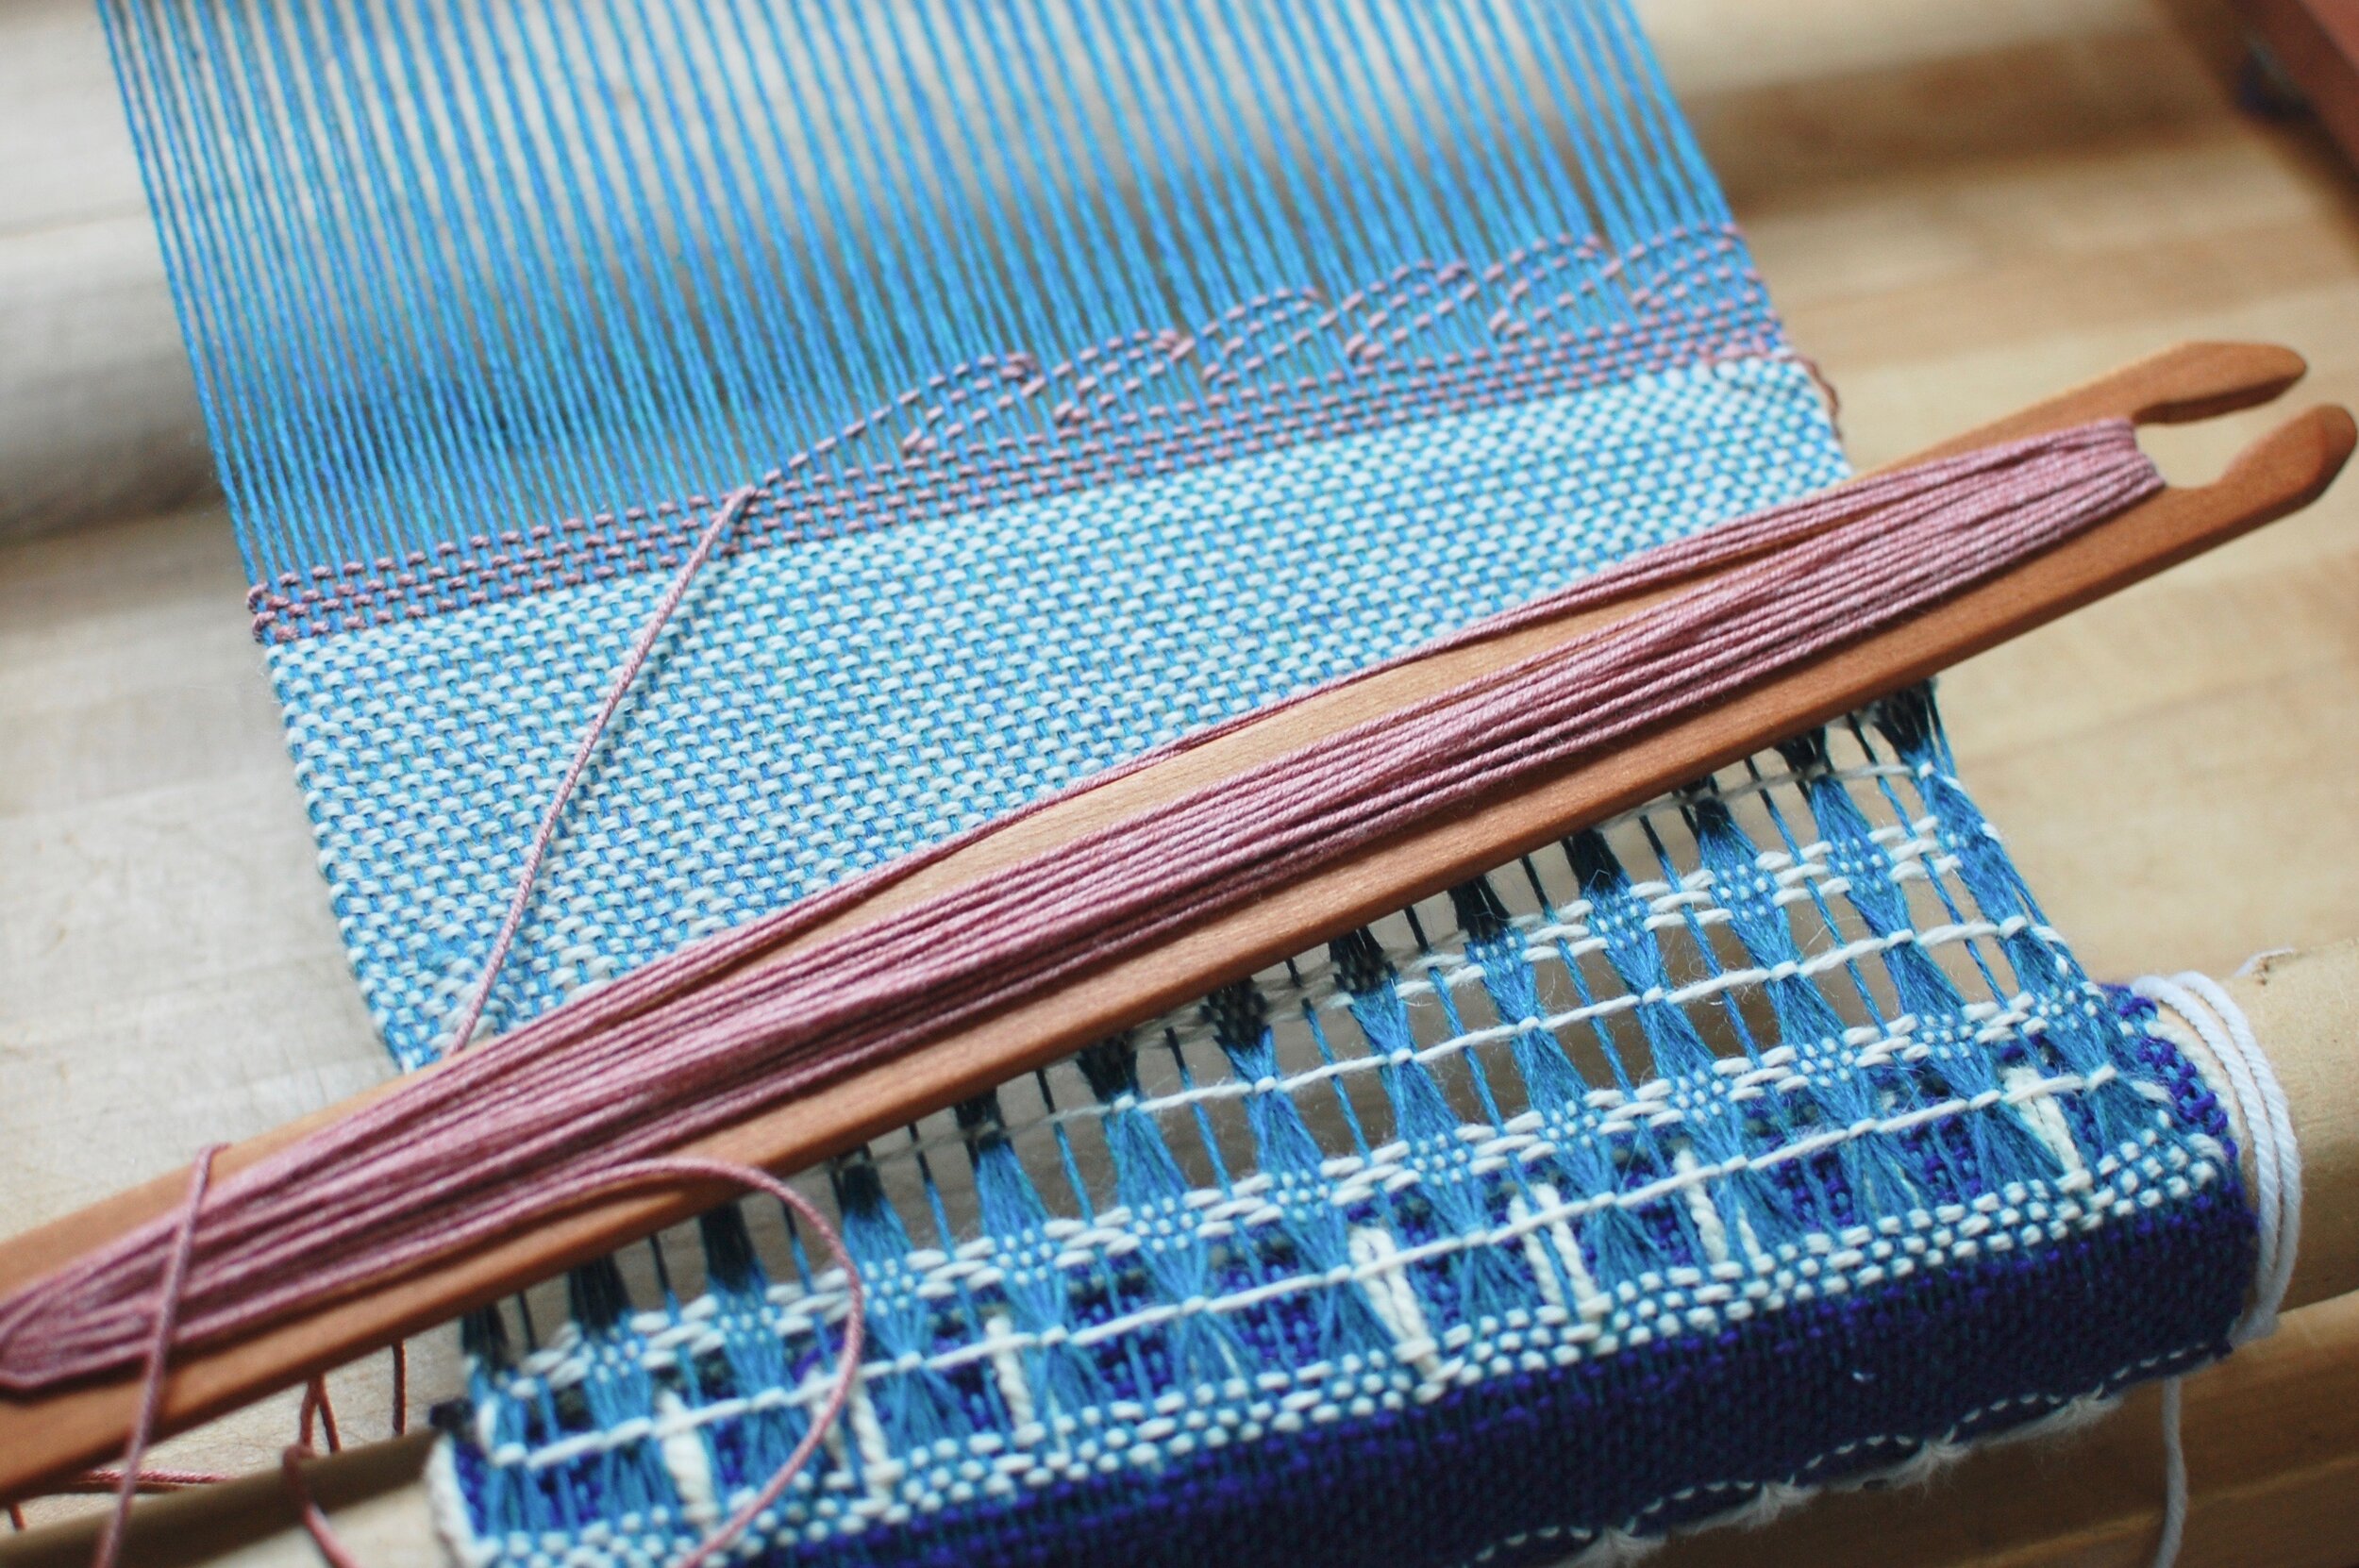
*I should note that my loom pictured recently got beaten up by a baseboard heater during a home renovation. The hooks that it, along with another small loom and my warping board were hanging on, got torn off of the wall and fell about four or five feet to the ground. The Beka loom was the only casualty. Some of the teeth were broken off making it now look like a kid waiting for the tooth fairy. Thankfully the loom is still completely usable and I’ll have a good description to give to police if a fiber thief should ever make off with it. 
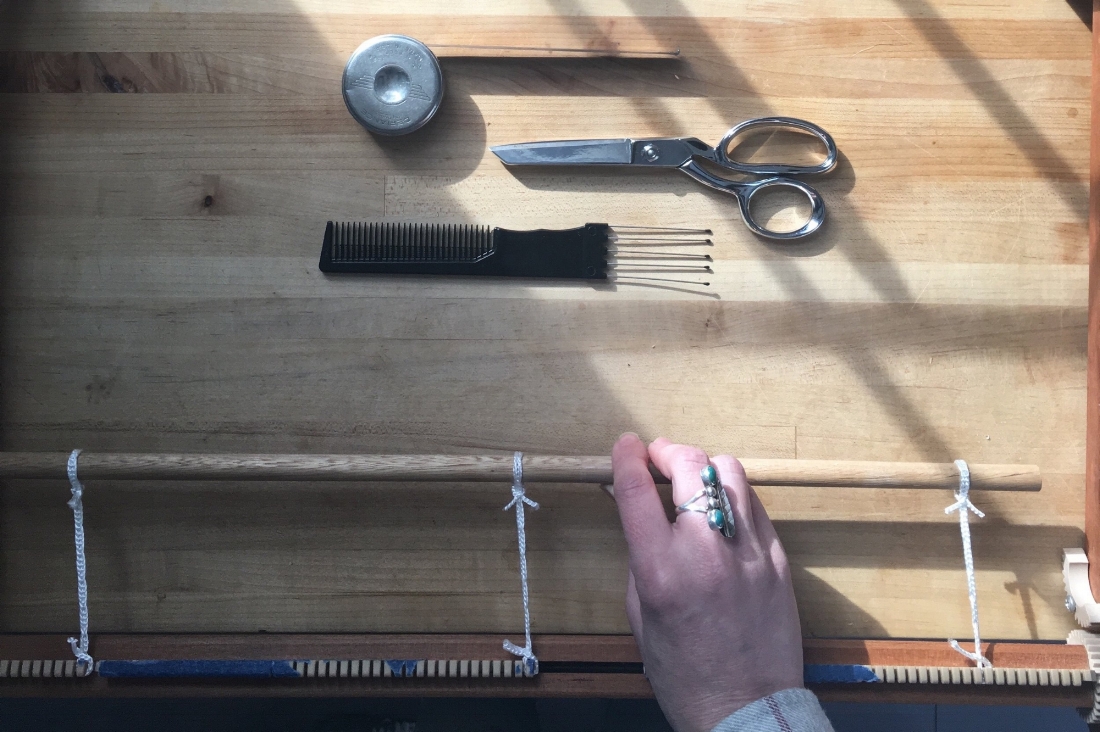
What you’ll need: 

  • A Beka rigid heddle loom. The one pictured is the 20” version. 
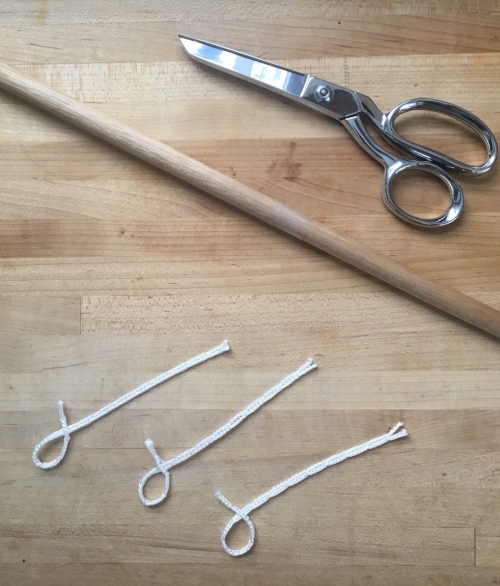
  • About 1.5’ of Texsolv. (Other cord could be used, you would just need to tie some loops in the cord rather than using the pre-made loops in the Texsolv. If you choose to make your own, you'll want to make sure the knots on each end of the three pieces are even with each other since the end goal is to have a parallel dowel to tie your warp on to. If the knots are not evenly spaced on each length of cord your dowel will be wonky which would lead to warp tension problems.)
  • Scissors
  • Tape measure
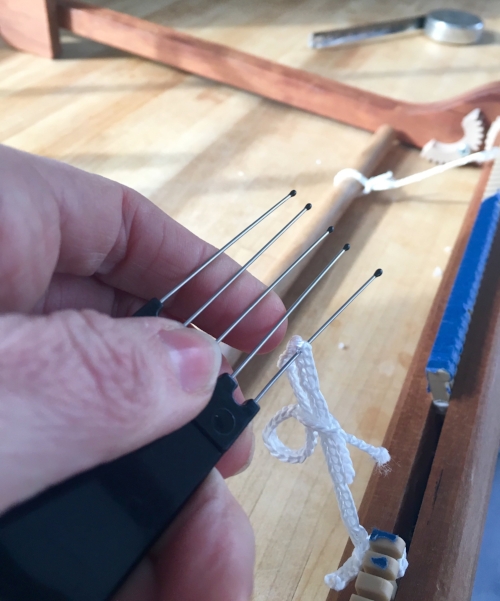
  • Comb or tool of your choice capable of pulling Texsolv through a small loop.
  • Painter's tape
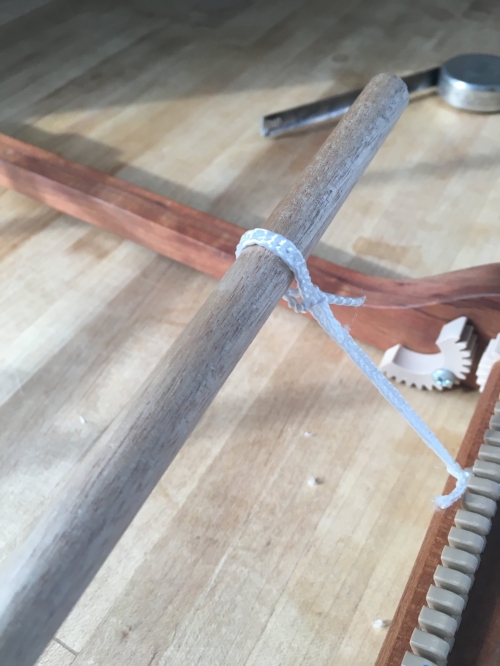
  • A wooden dowel equal to the weaving width of your loom. 
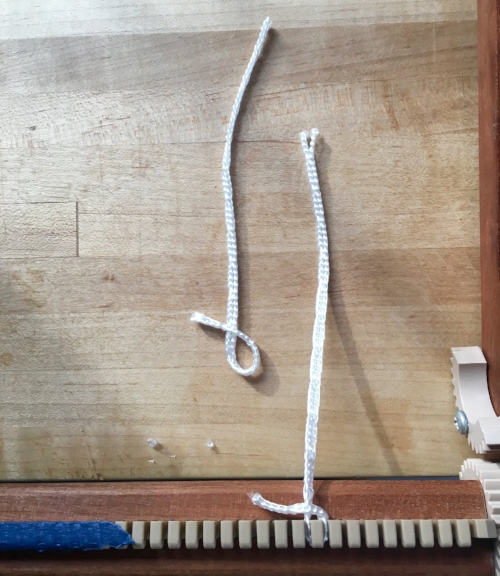
Step #1

Measure out three equal pieces of Texsolv. Mine are about 6”. If you are unfamiliar with Texsolv it is well worth checking out. It is nylon cord that has perfectly spaced loops running throughout. This means that it can be used for many different weaving tasks and no knots are needed. The equally spaced loops do the measuring for you.

Step #2

Bring one end of Texsolv through the bottom whole loop of the other end. Do this to each of the three pieces.

Step#3

Place each piece of Texsolv around one of the “teeth” on the front beam of the loom. Place one in the middle and one on each end. I’ve put each of my end pieces in about 2” from the last slot. The loops will fit snuggly in the slots, but they will fit. 

Step #4

Beginning with one of the end pieces, hold open the last full loop on one piece of Texsolv. Then reach through the opening and pull through a length of Texsolv to create a larger loop.

I’ve chosen to use my trusty hair pick (one of my favorite multi-purpose weaving tools) to do the job. You could certainly use tweezers, a tapestry needle, or even your fingernails. Just make sure that whatever you use will not cut through the Texsolv. 

Step #5

Insert one end of the dowel into the loop that you just created. Insert the dowel as you create each loop or you’ll run the risk of having your loop slip out while it waits. 

Step #6

Repeat steps #4 and #5 for the two remaining lengths of Texsolv.

Step #7

Finally, place a strip of painter's tape across the entire length of teeth. The tape will act as a safety net to make sure that your Texsolv loops do not slip off of the teeth. 

You now have a front apron rod on which to tie your warp. The sturdy and even dowel makes the process much less frustrating. Once you have advanced the warp a few inches, the Texsolv will wrap around the front beam and the dowel will politely tuck behind the row of teeth. I always keep this dowel attached to my loom and have not had to redo it…that is, of course, until a floorboard heater and wall hook decided to tear it off…

Happy warping!

January 13, 2017 /Katie Strano
Rigid Heddle Loom, rigid heddle, Beka loom, loom modification, apron rod, texsolv
4 Comments

Powered by Squarespace